Low carb birthdays can be delicious
Most years, birthdays are a reason to eat really bad food. And justify it. And feel guilty about it. And ultimately regret it. Not this year. I was hell bent on not going off the new eating healthy plan, yet still having my cake... yes I'm going to say it... and eating it too.
My grandmother, like most grandmothers, had some pretty good family recipes. Whether she got them from The Joy of Cooking or her own mother actually handed them down we'll never know. My mother said she didn't have my favorite of those recipes, Hungarian Nusstorte. So, as noted in my previous blog entry, Murphy was obviously still hanging around... trying to screw things up. Hmmph. Really? The thing is, I figured with Google at the helm, I'd find the same recipe somewhere. And when I landed on one that said "Hungarian Nusstorte" I figured bingo!
My grandmother, like most grandmothers, had some pretty good family recipes. Whether she got them from The Joy of Cooking or her own mother actually handed them down we'll never know. My mother said she didn't have my favorite of those recipes, Hungarian Nusstorte. So, as noted in my previous blog entry, Murphy was obviously still hanging around... trying to screw things up. Hmmph. Really? The thing is, I figured with Google at the helm, I'd find the same recipe somewhere. And when I landed on one that said "Hungarian Nusstorte" I figured bingo!
I was wrong. It was NOT my grandmother's Nusstorte. Maybe it was Hungarian... and maybe it was a nusstorte... but a really bad Hungarian cook must have come up with it. Murphy's cousin maybe. Of course the fact that it turns out our family was more Czech than Hungarian might have something to do with it. Are Czechs and Slovaks better cooks? I think some of the family may really be Hungarian, though, so we'll call this one a blended Nusstorte.
In any case, this one is the real deal. Because while first disaster cake was in the oven, my mom suddenly found the missing recipe. And here it is, with just a bit of a lower sugar angle. And some fresh berries.
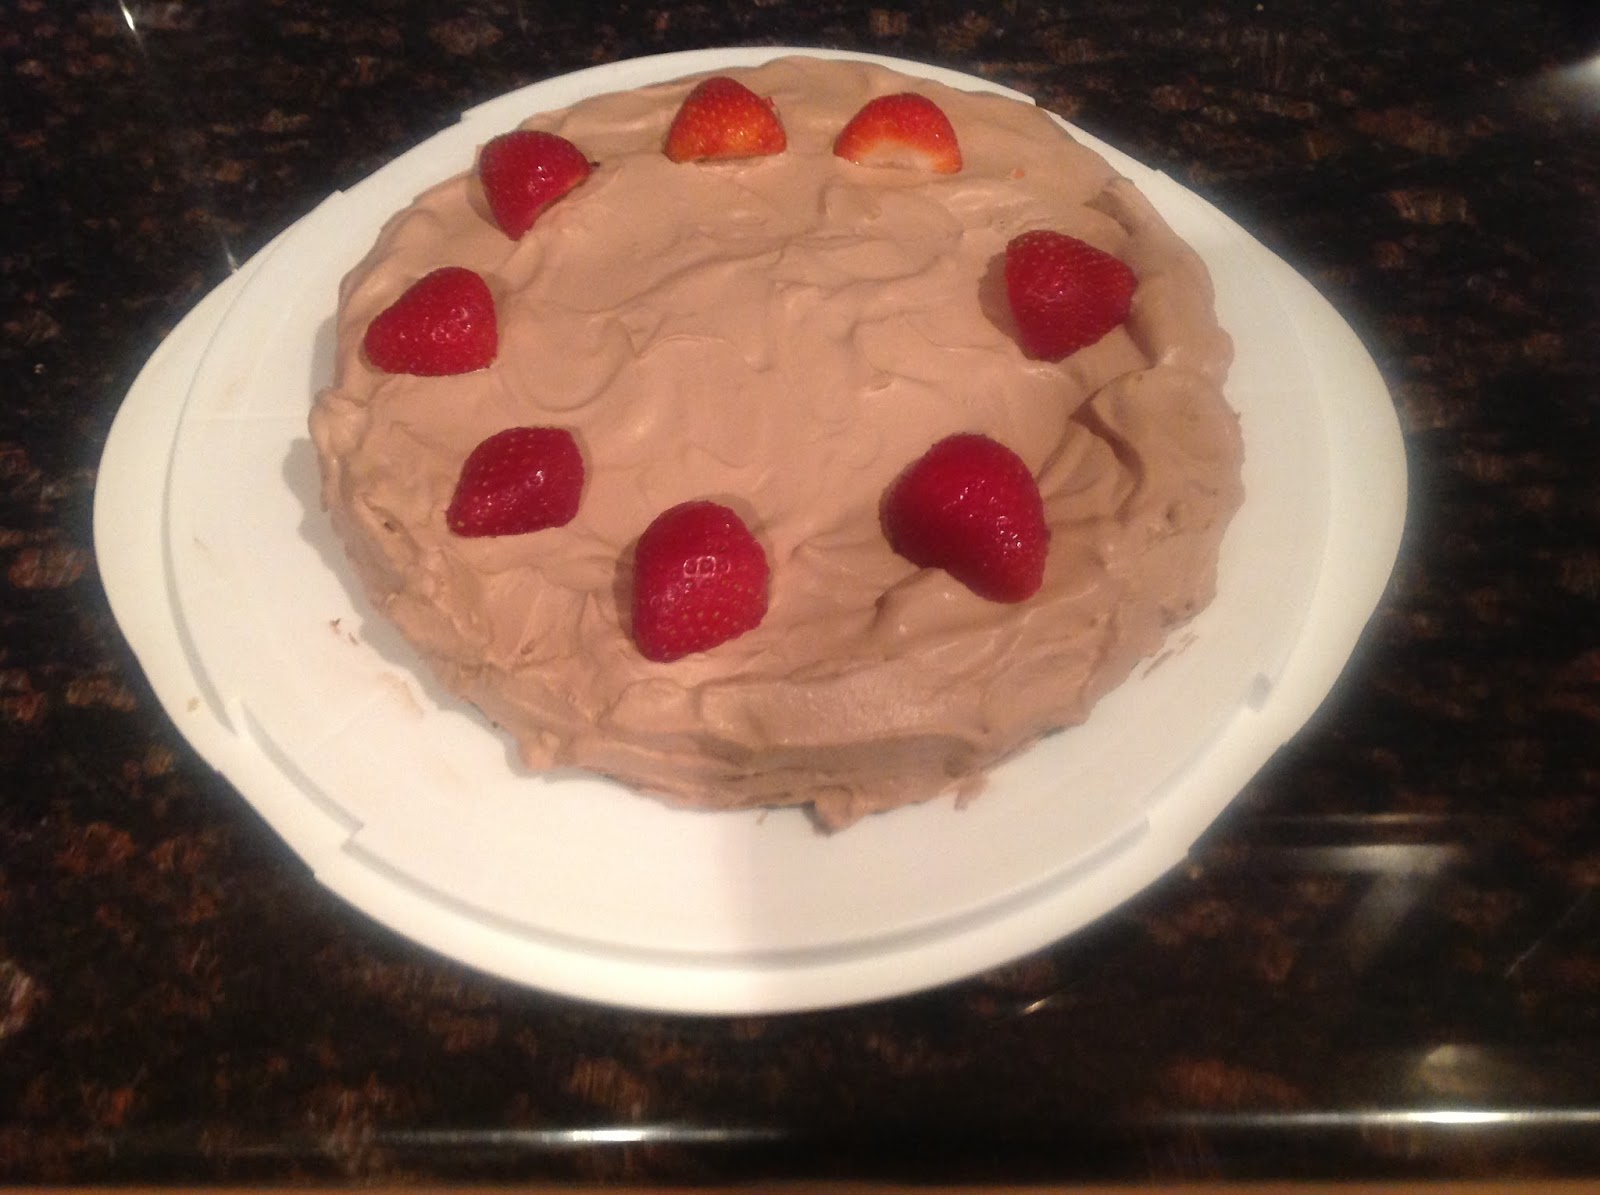 A nusstorte is simply a nut cake. In this case, my grandmother used to bake it for passover and other special occasions. Like when we asked for it. Hers was a hazelnut cake with mocha whipped cream. It was perhaps my most favorite dessert. I knew she worked pretty hard in the kitchen to make it too. And since regular birthday cake was out this year... I thought this was worth a go. This cake is a carb-haters dream.
My first try was a flop. Dry and flavorless, it was an insult to my grandmother. I blame the psuedo-Hungarian cook who posted that god-awful recipe.
My next attempt was perfection. Now that I had Nanny's recipe, well... history was made in Mary's kitchen.
I made the perfect cake. Seriously good.
1 cup ground hazelnuts or, since it's 2013, hazelnut flour
6 Eggs, separated
1 Teaspoon Vanilla
1/4 cup Splenda Blend* or Stevia Blend* or 1/2 cup sugar
*See tips on the recipe page for substituting ingredients
Topping:
1 cup whipping cream
1 tablespoon cocoa
1 tablespoon instant coffee
2 tablespoons splenda/stevia (or sugar if you must)
Add the Sugar Blend or Sugar to the egg yolks and beat together until pale yellow and smooth. If you don't use an electric mixer, it'll take about 30 minutes. If you do, it's 5. Add the hazelnut flour (which if you didn't buy as flour and have to grind the hazelnuts will take a bit more time) and vanilla and mix well.
In a separate bowl, using clean beaters, or a whisk if you have power arms, whip the egg whites until peaks form and color is a nice white.
Fold the egg whites gently into the egg/nut batter until no white streaks appear.
Pour the batter into a 9" well-greased springform pan and bake at 350 for about 22-25 minutes depending on your oven. The color should be a nice golden brown and the cake should be starting to come away from the sides of the pan. Tap gently in the center and it should bounce back.
 Remove from oven and let rest on cooling rack until the pan is cool to touch. Unhinge the springform and let cake continue to cool.
While the cake is cooling, make your whipped topping. Just combine the cream, coffee, cocoa and sweetener in a large mixing bowl and beat until the consistency of soft serve ice cream. Set in the refrigerator while you complete the cake preparation.
Once completely cooled, the fun begins. You have to slice the cake horizontally in two. Now this terrified me. I admit it. The whole idea of trying to evenly slice this in two without ruining it? Are you kidding me?

As you can see, I did it. With my daughter at my side coaching me. She's an expert... the as seen on TV kind... funny thing is, she was actually pretty much spot on with her instructions. Pretty good for a kid who's never baked a cake. The trick? Take a bread knife, gently score a line around the center of the side of the cake. Then gently bring the knife further into the cake and go around again and again, each time pressing further into the middle until lo and behold, you've cut through the whole thing!
Ok, now it gets really hard. You have to lift up the top layer and place it on a separate plate. Now keep in mind the cake is only about an inch and a half thick to begin with. So the layer you remove is pretty thin. So, be gentle. If the cake is cooked exactly so... it will be like a sponge and bend not break when you lift it up. You know that feeling at the top of a roller coaster just before you plunge? That's what it feels like to pick up that cake layer. So once that's done, take about a third of the topping and spread it fully around the top of the bottom layer. Now, with the same gentleness you used the first time, pick the top layer up and place it back on the bottom. Take the remaining topping and cover the top, and if there's any left the sides as well!
That's it. Thanks Nanny Joan. I know you'd be proud. There wasn't a crumb left.


In any case, this one is the real deal. Because while first disaster cake was in the oven, my mom suddenly found the missing recipe. And here it is, with just a bit of a lower sugar angle. And some fresh berries.
A nusstorte is simply a nut cake. In this case, my grandmother used to bake it for passover and other special occasions. Like when we asked for it. Hers was a hazelnut cake with mocha whipped cream. It was perhaps my most favorite dessert. I knew she worked pretty hard in the kitchen to make it too. And since regular birthday cake was out this year... I thought this was worth a go. This cake is a carb-haters dream.My next attempt was perfection. Now that I had Nanny's recipe, well... history was made in Mary's kitchen.
I made the perfect cake. Seriously good.
1 cup ground hazelnuts or, since it's 2013, hazelnut flour
6 Eggs, separated
1 Teaspoon Vanilla
1/4 cup Splenda Blend* or Stevia Blend* or 1/2 cup sugar
*See tips on the recipe page for substituting ingredients
Topping:
1 cup whipping cream
1 tablespoon cocoa
1 tablespoon instant coffee
2 tablespoons splenda/stevia (or sugar if you must)
Add the Sugar Blend or Sugar to the egg yolks and beat together until pale yellow and smooth. If you don't use an electric mixer, it'll take about 30 minutes. If you do, it's 5. Add the hazelnut flour (which if you didn't buy as flour and have to grind the hazelnuts will take a bit more time) and vanilla and mix well.
In a separate bowl, using clean beaters, or a whisk if you have power arms, whip the egg whites until peaks form and color is a nice white.
Fold the egg whites gently into the egg/nut batter until no white streaks appear.
Pour the batter into a 9" well-greased springform pan and bake at 350 for about 22-25 minutes depending on your oven. The color should be a nice golden brown and the cake should be starting to come away from the sides of the pan. Tap gently in the center and it should bounce back.
Remove from oven and let rest on cooling rack until the pan is cool to touch. Unhinge the springform and let cake continue to cool.While the cake is cooling, make your whipped topping. Just combine the cream, coffee, cocoa and sweetener in a large mixing bowl and beat until the consistency of soft serve ice cream. Set in the refrigerator while you complete the cake preparation.
Once completely cooled, the fun begins. You have to slice the cake horizontally in two. Now this terrified me. I admit it. The whole idea of trying to evenly slice this in two without ruining it? Are you kidding me?
As you can see, I did it. With my daughter at my side coaching me. She's an expert... the as seen on TV kind... funny thing is, she was actually pretty much spot on with her instructions. Pretty good for a kid who's never baked a cake. The trick? Take a bread knife, gently score a line around the center of the side of the cake. Then gently bring the knife further into the cake and go around again and again, each time pressing further into the middle until lo and behold, you've cut through the whole thing!
Ok, now it gets really hard. You have to lift up the top layer and place it on a separate plate. Now keep in mind the cake is only about an inch and a half thick to begin with. So the layer you remove is pretty thin. So, be gentle. If the cake is cooked exactly so... it will be like a sponge and bend not break when you lift it up. You know that feeling at the top of a roller coaster just before you plunge? That's what it feels like to pick up that cake layer. So once that's done, take about a third of the topping and spread it fully around the top of the bottom layer. Now, with the same gentleness you used the first time, pick the top layer up and place it back on the bottom. Take the remaining topping and cover the top, and if there's any left the sides as well!
That's it. Thanks Nanny Joan. I know you'd be proud. There wasn't a crumb left.


And it was quite delicious!
ReplyDelete